Spooktacular Halloween Whoopie Pies: A Fun Recipe to Impress Your Guests
- Nov 3, 2025
- 3 min read
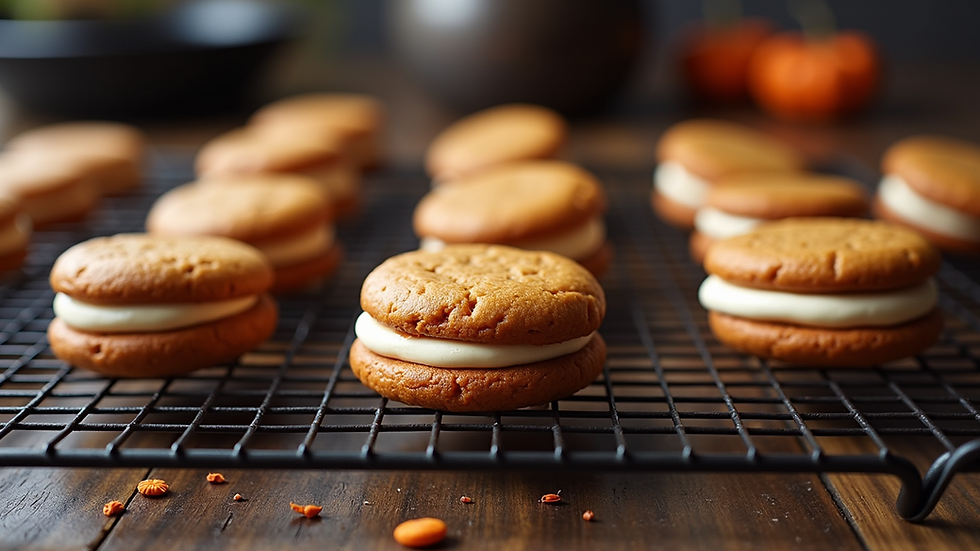
Halloween is just around the corner, and what better way to celebrate than with some deliciously spooky treats? Whoopie pies are a classic dessert that can easily be transformed into Halloween-themed delights. With their soft, cake-like cookies and creamy filling, these Halloween Whoopie Pies will not only impress your guests but also add a festive touch to your celebrations. Let's jump into this fun and easy recipe that promises to make your Halloween party a hit!

What You'll Need for Halloween Pies
To create these spooky treats, gather the following ingredients:
1 recipe Whoopie Pie Cake
Red food coloring
Mini marshmallows
Almonds, slivered
Having all your ingredients ready before you start baking will make the process smoother and more enjoyable!
Get Started on Your Spooky Treats
Preheat Your Oven
First things first, preheat your oven to 350 degrees Fahrenheit. This essential step ensures that your Whoopie Pies bake evenly and come out perfectly fluffy.
Prepare the Whoopie Pie Cake
Next, prepare the Whoopie Pie Cake and filling according to your recipe. For the cookies, scoop a heaping tablespoon of batter onto a greased cookie sheet for each. Make sure to space them about 3 inches apart to allow for spreading.
Bake the Cookies
Bake the cookies for about 8 to 10 minutes. They should be firm around the edges and soft in the center. If you use a toothpick test, it should come out with just a few crumbs clinging to it. Once they are done, let them cool completely on a wire rack. This cooldown is crucial for achieving the right texture in your Whoopie Pies.
Color the Filling
While the cookies cool, take ½ cup of the filling and place it in a small bowl. Add several drops of red food coloring and mix well. If you want the ‘gums’ to be even more vibrant, add a few extra drops. Once you achieve the desired shade, transfer the mixture into a pastry bag with a small plain tip or a plastic bag with a tiny hole cut in the corner.
Assemble the Whoopie Pies
Now comes the fun part! Turn one cookie over so the flat side is facing up. Starting halfway back on one side, pipe a thin line of red filling along the edge to create a ‘U’ shape. Repeat this with a second cookie.
Add the Teeth and Gums
For character, place four mini marshmallows in the filling along the front of the first cookie. For the ‘teeth,’ slice two marshmallows in half. Place two halves on the right side and two halves on the left side of the filling. Using a small spatula, spread some of the white filling behind the ‘teeth’ until no cookie is showing. Then, take the second cookie and turn it over, placing it on top of the filled cookie. And just like that, you have a Whoopie Pie with character!
Final Touches
To give your dessert a final spooky touch, take two pointed almond slivers and place them on either side of the front two marshmallow ‘teeth.’ This adds a delightful and playful touch that is sure to entertain everyone at your Halloween gathering.
Tips for Success
Experiment with Colors: While red is great for Halloween, consider using green for a monster theme or orange for a pumpkin theme to suit various occasions!
Make Ahead: Prepare the cookies and filling a day in advance, storing them separately in airtight containers in the refrigerator. Assemble them on the day of your event for the freshest taste.
Get Creative: Have fun with the recipe! Consider using different flavored fillings, such as peanut butter or chocolate, and add sprinkles or edible glitter for extra flair.
Your Spooky Treats Await
These Halloween Whoopie Pies are not only delicious but also a visual treat that will impress your guests. Their playful design and delightful flavors make them a standout dessert at any Halloween gathering. Whether you’re hosting a party or simply indulging in some festive baking, this recipe is a fantastic choice.
So gather your ingredients, invite some friends over, and get ready to create spooktacular treats that will leave everyone asking for seconds. Happy Halloween baking!


Comments